|
|
|
|
|
|
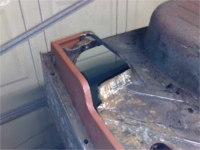
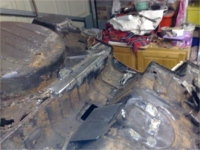
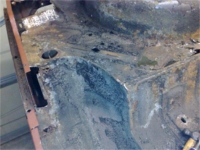
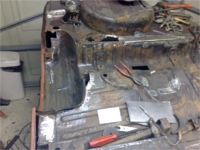
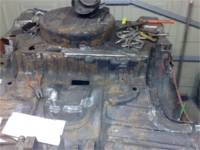
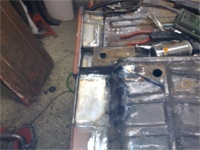
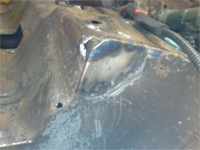
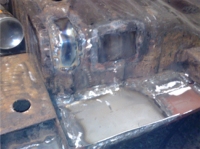
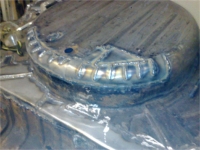
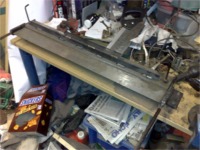
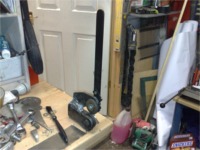
29 March 2008 - The Underside 2 More of the same this time, as I have been finishing off the welding on the underside of the tub. All in all it didn't go too badly, and I have been doing a bit each day, setting myself a small area to complete, just so I can keep motivated! The biggest area of rot was just in front of the spare wheel well in the boot. Actually this looked reasonable in early pictures and it wasn't until i started tapping around with a hammer, and then all the filler and rust fell out! Although a little daunting at first, I decided I would try and keep the look of the pressed areas , so made up each section at a time. By cutting out a bit at a time, it is easier to keep the shape and it is quite satisfying to see it taking shape. One thing I have learned is that it is easier ot make up several smaller patches rather than try to make one big one. Although it seems easier to go for a big patch, it is a lit more difficult. Making smaller patches just means that butting them together you have an extra weld, but this is on clean metal so you can get a nice weld there anyway. The areas I am leaving until last are the inner wheel arches. Both sides are rusted through, with the drivers side the worst. The problem with this area is that ir is curved in all directions and includes a lip. It is difficult to get looking right when all you have is hand tools to shape the flat steel. Whilst on the subject of tools I have found two tools to be invlauable: Mini Sheet metal Cutter & Metal Folder The metal folder I had to modify, as it doesn't come with a clamp so you have to use two small clamps to hold the steel plate in place whilst you bend. Also when you bent longer pieces, the clamping plate flexes meaning the bend is not even. So luckily I have a pillar drill, so I drill and tapped a hole in the clamping plate and the folding bed so I could screw the clamping plate down, and then I welded an angle iron to the clamping plate so stop it flexing. You can see the modifications in the picture on the right. Sealey do a similar folder which is mounted in a vice, but I wanted one that was bench mounted as I wanted to keep teh vice free for other uses. The big advantage of these tools is that helps you work more quickly and also makes the bends a lot easier and neater. So if you have a lot of bodywork to do, then it might be worth investing in these two tools! Well the rest of this week is going to be spent on finishing up the wheel arches and then turning the tub over so I can tidy up before seam sealing all the welded areas. I'll then turn the tub back over so I can seam seal the bottom and then stonechip the whole lot like I did the bulkhead. I would dearly love to get this done before next weekend so I can spend saturday lead filling the body and then spend sunday on the chassis! I am aiming to get the car off to paint by the 14th April - wish me luck!
|
|
||||||||||||||||||||
|