|
|
|
|
|
|
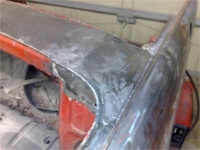
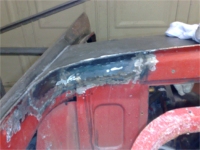
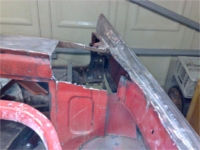
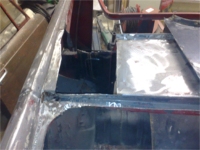
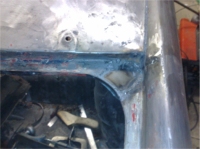
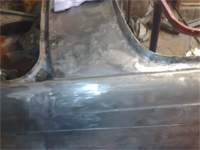
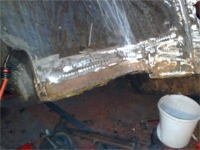
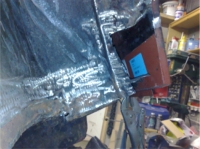
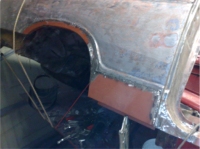
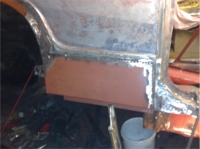
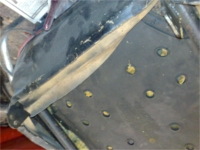
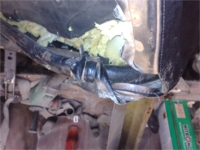
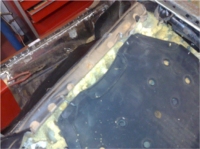
24 February 2008 - More Welding Okay, I know it has been 3 weeks since the last update! The reason? I have been putting together a website in my spare time for someone my partner (soon to be wife) found on her travels to get stuff for the impending wedding. So from buying a tiara, she managed to sell my services! Anyway, it is helping to pay for the car so it is not all bad. I have welded up the quarter panel and new wing repair section which I ordered from Rimmers. It took a bit of playing about with until they lined up and although it looks pretty good, I am not 100% happy with it as I am sure it is a little high. It won't notice though unless the expert Herald gurus get a good look round it! I also welded up the holes in the convertible top panel. These were worrying me and I didn't know whether I would be able to do anything with them and make them look sensible without a ton of filler. As it was, I took my time on both sides and carefully cut out pieces of metal to fit the holes and slowly welded them in, trying not to warp the panels too much. A steady hand and a wet cloth is needed! When I had finished the welding, I had a go at body soldering (aka Lead Filling). Having watched a couple of videos clips on the web and studied a couple of different techniques I had a go, and to be honest Idon't think it came out too bad! The Photos show the first skim of lead, and I will take some more when I have put on the final skim to fill a few remaning low spots. To begin with it is very tricky as you do not know how hot to get the body or the solder and when you have it too hot, it just puddles and on vertical panels, just runs off onto the floor! When I had had a couple of goes, it started to gauge just how long to heat it for and then use the shaping tools to get the solder in the rough shape, before filing or sanding it down. For any of you interested this is what you do to body solder:
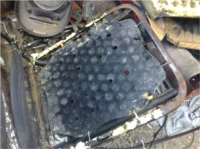
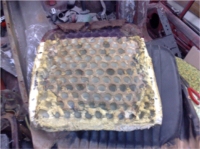
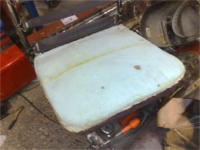
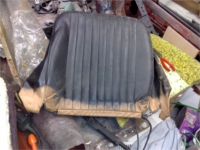
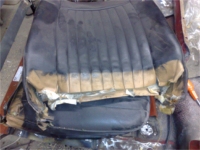
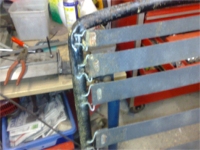
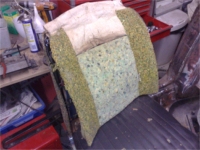
As you can see from the photos, it comes out really quite well, and overall I was extremely pleased with progress today. Both holes in teh top section either side have been sorted and so just the left hand wing and quarter panel and sill to do, oh and the dreaded boot floor! I also had an exploratory look at the seats to see how bad they really are. I was right, they are very bad! Orignally they were tan and someone obvioulsy had them coloured black. The frame is okay actually, with just a bit of surface rust, but all the rubber and foam is shot and the whole lot wants throwing away and starting again. I am in two minds as to whether to go for an off the shelf interior or to get a local car trimmer to have a go and make up the seats and carpets. I might enquire and see what the prices come out like. So all in all, not too bad progress, still waaaay behind where I wanted to be, but still, going in the right direction. With only 89 days now left to wedding, things will get pretty tight I reckon!
|
|
||||||||||||||||||||||||||||
|